Table of Contents
- Overview
- Tools and Materials Needed
- Pre-Installation Preparation
- Step 1: Check the Door Opening and Frame
- Step 2: Install the Side Guides
- Step 3: Mount the Door Header
- Step 4: Install the Door Curtain
- Step 5: Connect the Motor and Control System
- Step 6: Install Safety Devices
- Step 7: Test and Adjust the Door
- Common Installation Mistakes
- After Installation Maintenance
- Conclusion
Overview
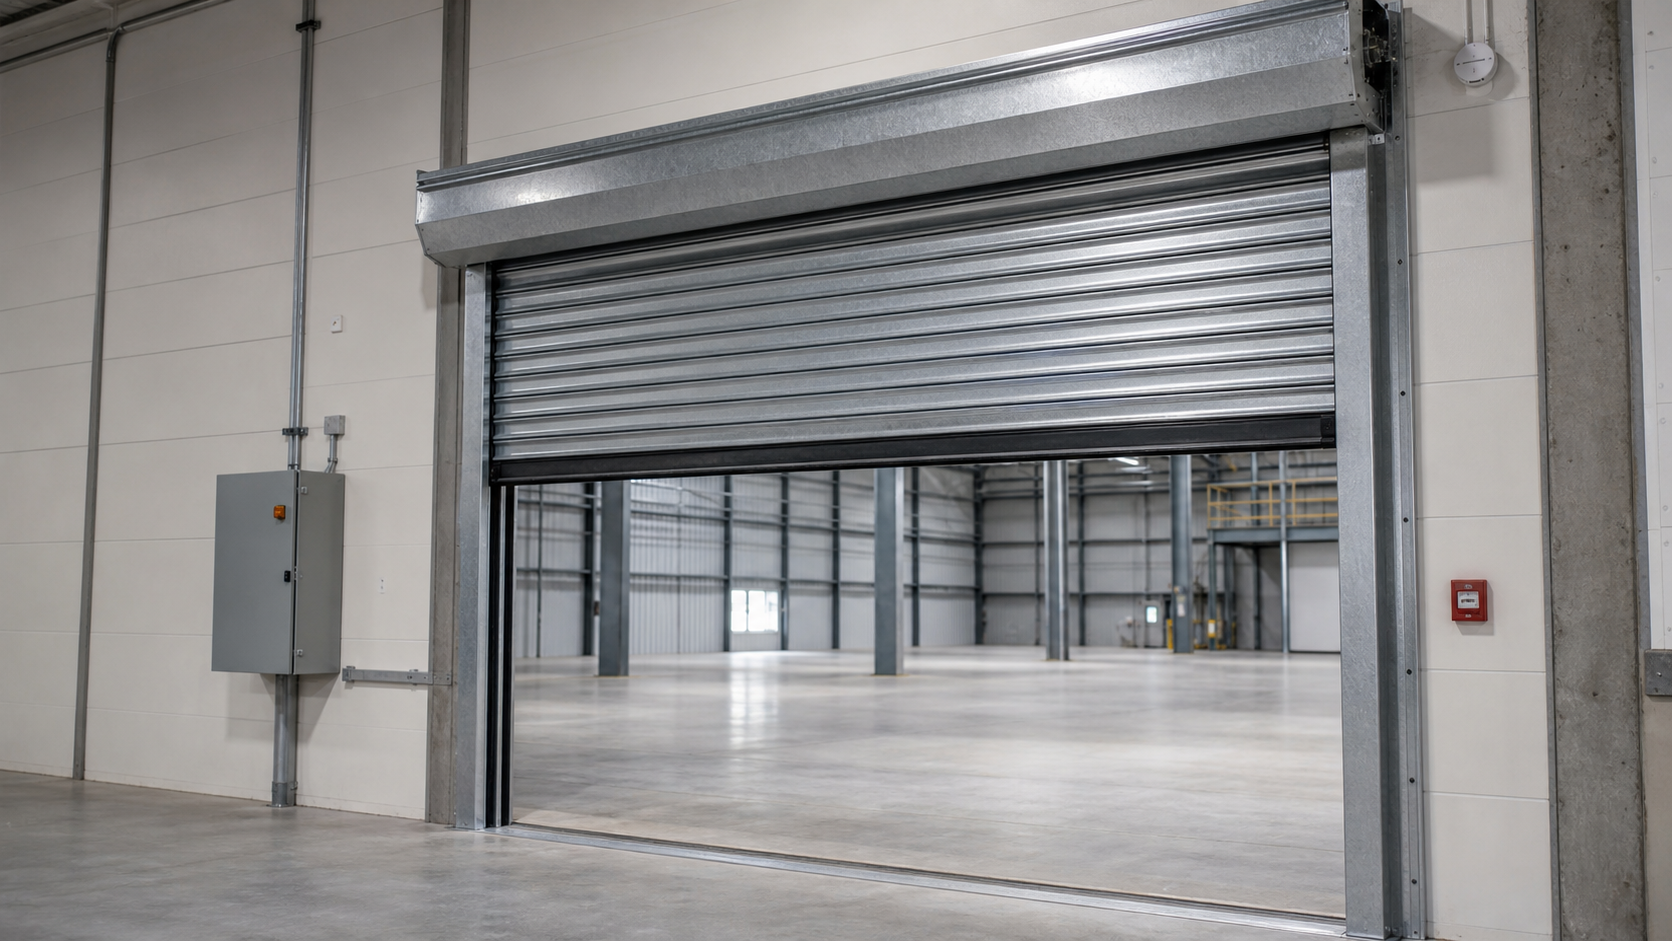
Installing a high speed door requires accurate measurement, correct alignment, safe electrical connection, and full system testing. A high speed door is commonly used in warehouses, factories, cold storage areas, clean rooms, and logistics facilities where fast opening and closing are needed.
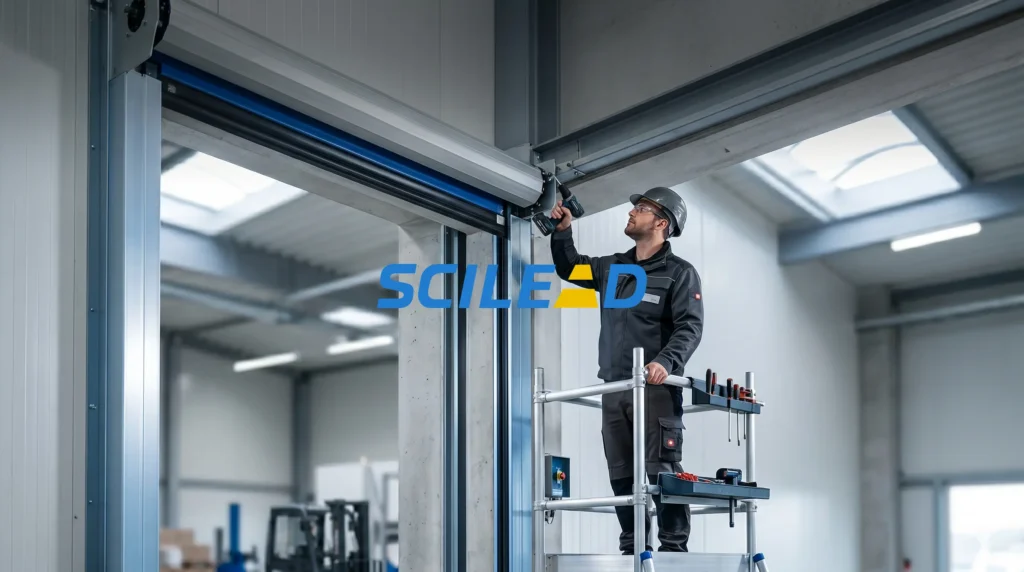
This guide explains the basic steps for high speed door installation. For large industrial doors, insulated doors, cold storage doors, or doors with advanced control systems, installation should be handled by trained technicians.
Tools and Materials Needed
Before installing a high speed door, prepare the required tools and components. Common tools include a measuring tape, level, drill, wrench set, anchor bolts, screwdrivers, lifting equipment, electrical tester, and personal protective equipment.
Main door components usually include the side guides, header box, roller shaft, door curtain, motor, control panel, safety sensors, bottom edge system, and fasteners. Always check the packing list before installation.
Pre-Installation Preparation
Before installation, confirm that the door model matches the site requirements. Check the door opening size, wall structure, power supply, installation space, and operating environment.
The floor should be level, the wall should be strong enough to support the door, and there should be enough clearance above and beside the opening. If the site has forklifts, frequent traffic, moisture, dust, or temperature control requirements, these conditions should be considered before installation.
For more product selection information, visit Scilead Door or check available high speed door solutions.
Step 1: Check the Door Opening and Frame
Measure the width and height of the opening at several points. The opening must match the confirmed door size. Check whether the wall surface is flat and vertical. Uneven surfaces can cause poor sealing, curtain friction, or unstable operation.
Mark the center line of the opening and the installation positions for the side guides and header. Accurate marking is important because even a small alignment error can affect the operation of the high speed door.
Step 2: Install the Side Guides
Place the left and right side guides according to the marked positions. Use a level to confirm that both guides are vertical and parallel. Fix the guides to the wall or steel structure using suitable anchor bolts.
The distance between the two side guides must be consistent from top to bottom. If the guides are not aligned, the curtain may run unevenly, create noise, or come out of the track during operation.
Step 3: Mount the Door Header
The header box contains the roller shaft and main drive components. Lift the header into position above the opening and align it with the side guides. Use proper lifting equipment to avoid damage or injury.
After positioning the header, fix it securely to the wall or support structure. Confirm that the roller shaft is level. A tilted header can cause the door curtain to roll unevenly and reduce the service life of the high speed door.
Step 4: Install the Door Curtain
Install the door curtain onto the roller shaft according to the manufacturer’s instructions. Feed the curtain edges into the side guides carefully. Make sure the curtain moves smoothly inside the guides without twisting or excessive friction.
For zipper high speed doors, check that the zipper edges are correctly inserted into the guide system. For PVC roll up high speed doors, confirm that the curtain is properly centered on the shaft.
Step 5: Connect the Motor and Control System
Install the motor, control panel, limit switch, encoder, and related wiring according to the electrical diagram. The power supply must match the door specification. Electrical work should be completed by a qualified electrician.
Set the opening and closing limits carefully. Incorrect limit settings can cause the curtain to over-roll, stop too early, or hit the floor with excessive force.
The control system may include push buttons, radar sensors, magnetic loops, remote controls, pull cords, or access control systems. Select the control method based on the traffic flow and site usage.
Step 6: Install Safety Devices
Safety devices are essential for high speed door installation. Common safety components include photoelectric sensors, safety bottom edges, warning lights, and emergency stop buttons.
Install photo sensors on both sides of the opening at the correct height. Test whether the door reverses or stops when an object is detected. If the door uses a bottom safety edge, confirm that it responds correctly when contact occurs.
Do not operate a high speed door without functional safety devices. This can increase the risk of equipment damage and workplace injury.
Step 7: Test and Adjust the Door
After mechanical and electrical installation, test the door several times. Check opening speed, closing speed, limit positions, sensor response, curtain movement, sealing performance, and noise level.
The curtain should move smoothly without shaking, scraping, or drifting to one side. The door should stop at the correct upper and lower positions. Safety devices should respond immediately during testing.
If problems appear during testing, adjust the side guides, limit settings, motor parameters, or sensor positions before putting the door into daily use.
Common Installation Mistakes
Common high speed door installation mistakes include inaccurate measurement, uneven side guide alignment, weak fixing points, incorrect power supply, poor limit setting, missing safety tests, and improper curtain tension.
These mistakes can lead to noise, curtain damage, unstable operation, poor sealing, and frequent breakdowns. Careful installation helps reduce maintenance costs and improves the service life of the door.
After Installation Maintenance
After installing a high speed door, regular maintenance is important. Check the curtain, side guides, fasteners, motor, control box, sensors, and safety devices on a routine basis.
Keep the guide tracks clean and remove dust, debris, or foreign objects. Test the safety sensors regularly. If the door is used in a high-traffic area, maintenance should be performed more frequently.
For repair guidance, you can also read high speed door maintenance and repair articles.
Conclusion
High speed door installation requires correct measurement, strong fixing, precise alignment, safe wiring, and complete testing. A properly installed high speed door improves traffic efficiency, workplace safety, temperature control, and long-term reliability.
If you need a suitable high speed door for your factory, warehouse, cold storage room, or clean room, contact Scilead Door for product selection and technical support.